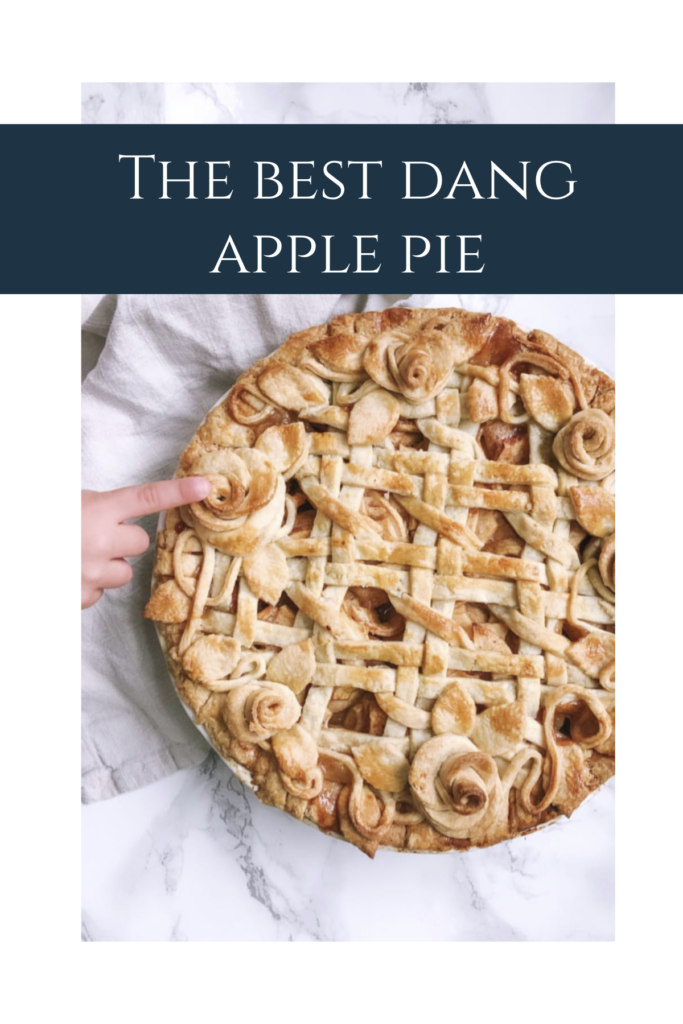
If you’ve followed me on Instagram for any length of time, it will come as no surprise to you that one of my creative outlets is baking pies. A little known fact is that I actually don’t love pie, but I’ve long been intrigued by the creative options for pie tops. A handful of years ago I started making pies on occasion and my default one is a classic apple pie. I have a couple others that I’ve made and enjoy (black cherry bourbon and classic peach), but apple pie is the easiest to make and the most universally loved.
I’ve been asked many times for my apple pie and, much to the disappointment of my friends and followers, I have to admit that I do’t really follow a recipe. It’s one of those a-little-bit-of-this and a-little-bit-of-that sort of things. Today I decided to make a pie and, once and for all, do my best to get a recipe on paper. Alas, my apple pie recipe that I guaranteed to wow your guests…
For starters, a homemade crust is a non-negotiable. It’s what makes the pie great. So much so, in fact, that Adam won’t even eat my pies if I take the quick way out and use a pre-made crust. I’ve created a monster. It took me YEARS to find and perfect a homemade crust. I needed something that tasted great but, almost more importantly, rolled out well. I also hated recipes that require fridge time, because when I deice to make a pie I usually have 1.5 hours of naptime to get it done, and I don’t have time to let a crust chill for 2 hours.
Here is my pie crust recipe:
3 cups flour
1.5 teaspoons salt
132gr cold butter
96gr lard
1/2cup (ish) ice cold water
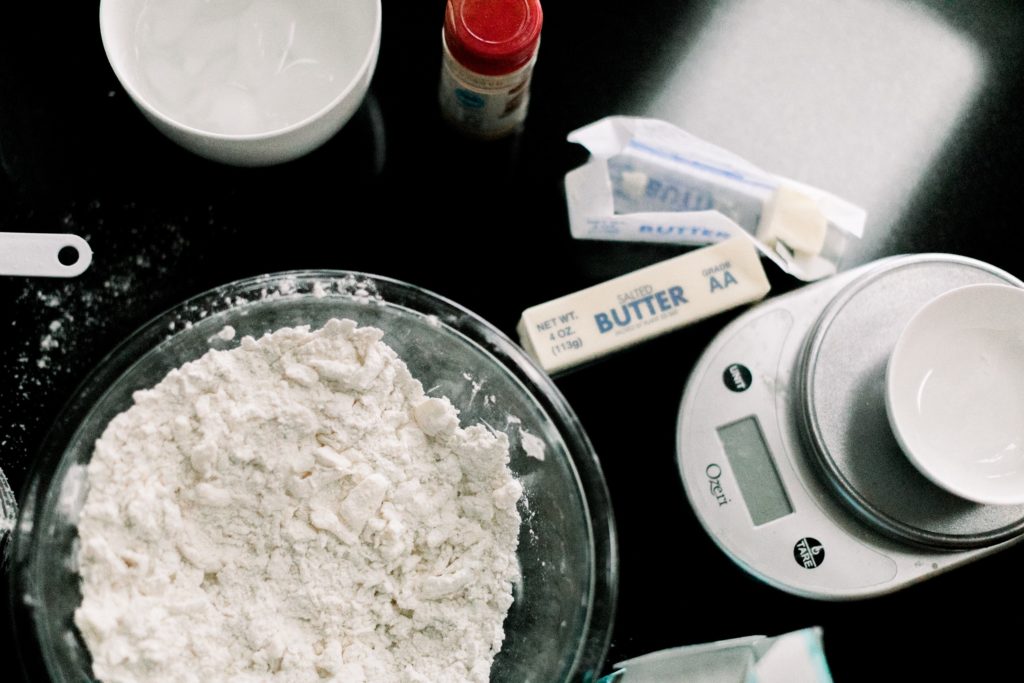
To start, grab a big mixing bowl and mix the flour + salt. Weigh your butter and lard on a kitchen scale. I find that the precise measurements are pretty important, so I use a scale rather than TBSP and cups for the fats. If you absolutely don’t have a kitchen scale, 1 stick + 1.5TBSP of butter gets you pretty close to 132gr (134.7gr) and 96gr of lard is just under 1/2 cup. But get a kitchen scale. Trust me on this one.
Mix the above ingredients together enough to just toss flour onto the fats, and then start cutting into into smaller chunks with a knife. Once you’ve cut it into chunks the size of marbles, begin to work it with a pastry cutter (another must have tool). I usually cut in the fats until the mixture is crumbly but incorporated. You want the crumbles to be around the size of peas.
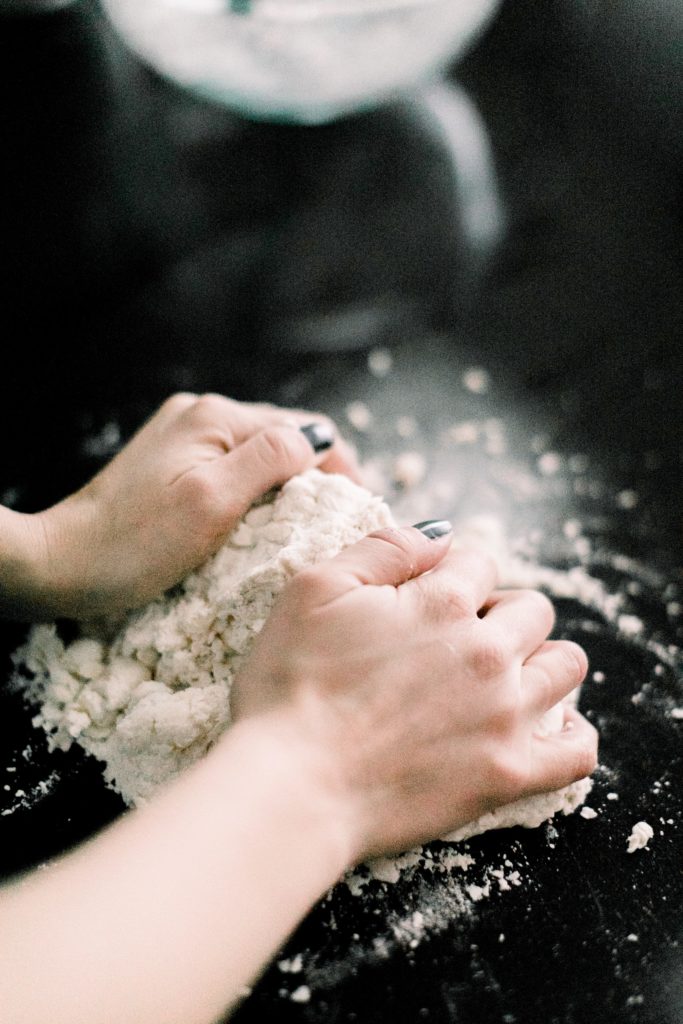
Once you’ve got our mixture all crumbly, start working int he water. One key thing with pie crust is that you don’t want to overwork it. I slowly mix in the water with a wooden spoon or tablespoon, just until incorporated. It will like still look fairly dry, but one the water is in, flip it all onto a floured surface and gently work into a ball of workable dough. It usually takes me kneading it 2-4 times to get it workable. At this point I divide the dough into 3 sections, making one of the sections half the size of the other 2.
One of the larger sections of dough will be for the pie bottom. Mold it onto a nice ball and begin to roll out. I usually roll it to about 1/4in thick, and I make sure there is enough flour underneath and sprinkled on top so that it doesn’t stick. Try your best to keep it in a nice circle, as that will make it easier to transfer to the pie dish. Once you’re done rolling it out, pick it up gently with your hands and forearms and move it to the pie dish, letting the excess hang over the edges.
Now it’s time to make the filling! For this part I use an apple corer/peeler thing. It’s not necessary, just cuts down on time (one of the reasons I default to this pie in the first place). If you don’t have one, just peel the apples and then cut them into pieces.
For the filling I add a squirt of lemon juice (maybe a tablespoon?), 2TBSP flour, a generous amount of cinnamon (let’s say 3TBSP), a dash of clove, a dash of nutmeg, and 3/4c each of brown + white sugar. Mix it allll together and promptly sample one of the apples. Try your best not to sit there with a fork and eat your entire filling because it smells and tastes amazing, even uncooked. Add filling to pie dish. Pre-heat your oven to 350 and put a cookie sheet or piece of foil on the bottom of the oven, because this pie is known for dripping over and then the whole kitchen will be filled with smoke. I’m not speaking from experience here because this has definitely never happened to me. Ever. I’ve also never set all my smoke alarms off at the same time as a result of pie drippings. Ever. But, you know, in case that happens to YOU, just make sure you have a cookie sheet or foil on the bottom of your oven. 😉
Here is my filling recipe:
8 apples (I like to use Gala)
2TBSP flour
1TBSP lemon juice
3/4c each of brown + white sugar
3TBSP cinnamon
dash of clove
dash of nutmeg
Now is my favorite part – making and getting creative with the crust top! You can roll out a flat top and keep it simple with some decorations, or go crazy with creative tops. I have a Pinterest board where I keep my pie top inspirations, and I usually end up doing a combo of 1-3 of them. A classic design is a lattice top, but you can even get super creative with that by doing some braids in there, or doing a double/stacked lattice. The sky is the limit! Just try to work quickly, so that your pie filling doesn’t get too runny. Once you’re done, make a quick egg wash with 1 egg and a bit of water, and brush it over the top of your crust. This isn’t necessary but it will help your pie top to brown up nicely. I usually “paint” in the eggs wash to accent certain elements of the top decoration, since the egg washed parts bake darker. Cut a few little slices into the pie top for steam to release during the baking process.
Once you’re done, pop your pie in the oven, uncovered and bake for 45-60 min. You’ll want to make sure there is no liquid inside and that it is cooked through thoroughly, which is sometimes hard to tell. Keep an eye on the crust. If it starts getting too brown, throw a piece of foil loosely over the top. I literally just open the oven and slide it on top – I don’t tuck it under the dish or anything. There is also this accessory that keep just the edges from getting dark.
Once your pie is done, let it cool and settle for 15 min or so before you serve it. It tastes amazing hot (especially with a scoop of vanilla bean ice cream!) or you can eat it at room temp. Honestly, there’s no way you can go wrong with eating it! If you make this recipe, take a picture on Insta stories and tag @aliciaann_home so that I can feature you in my stories! I would love to see how yours turned out – and don’t be shy if the crust doesn’t look like it belongs in a magazine. We all start somewhere!
Tools to make your pie creating more fun and/or easier:
– Pastry cutter
– Kitchen Scale
– Pretty pie dish
– Lattice cutter
– Fondant roller
– Fondant cutters


Leave a Reply